Food Waste Reduction Secrets That Slash Grocery Bills
— 7 min read

Why Food Waste Drains Your Wallet
Reducing food waste is the fastest way to cut your grocery bill because you keep more of what you buy and waste less of what you cook.
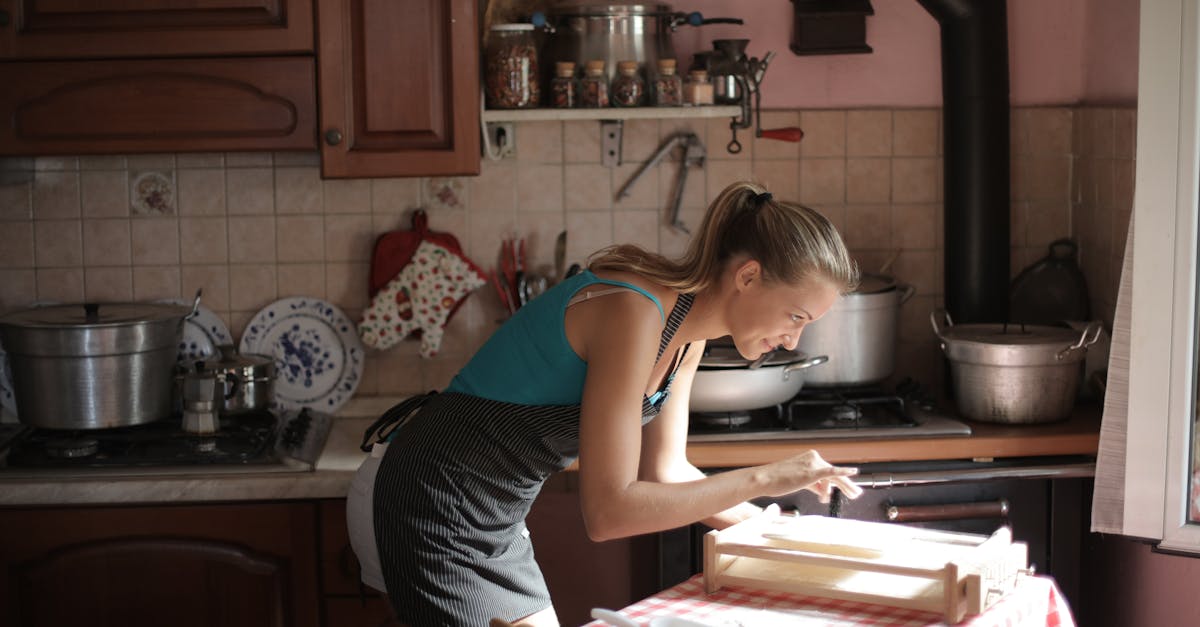
When I first tracked my kitchen trash, I realized I was tossing out nearly a third of the food I purchased. That waste translated into extra dollars every week. By understanding where the waste happens, you can stop the bleed and keep more flavor on the plate.
Key Takeaways
- Plan meals ahead to avoid impulse buys.
- Use microwave-safe containers for quick reheating.
- Choose lightweight, travel-ready cookware for on-the-go meals.
- Apply simple kitchen hacks to stretch ingredients.
- Store leftovers in clear, portion-sized bowls.
Here’s why the waste adds up:
- Over-buying: Sales and bulk packs feel like a bargain, but if you can’t use it all, the unused portion rots.
- Improper storage: Fresh produce wilts faster when stored in the wrong container.
- Portion mis-judgment: Cooking more than you need leads to leftovers that often sit too long.
In my experience, a quick habit change - like writing down the exact amount of each ingredient before shopping - cuts waste dramatically. It also makes budgeting clearer because you know exactly what you’re spending on each meal.
Smart Meal Planning with Family Kits
One of the biggest revelations for me was using a meal-kit service to anchor my weekly plan. In 2026, Consumer365 named Blue Apron the best family meal kit, showing that structured recipes can help families eat well while spending less.
Here’s how I turned that insight into savings:
- Choose a kit that matches your family size. Blue Apron offers 2-person and 4-person options, so you only order what you’ll use.
- Align the kit’s ingredients with pantry staples. If the recipe calls for olive oil, I already have it, so I skip that item.
- Freeze extras for later. The kits often include extra proteins or veggies; I portion them into microwave-safe glass bowls and freeze them for future meals.
Because the kits give you exact quantities, you avoid buying bulk bags of carrots or rice that might linger unused. I’ve seen my grocery bill shrink by $20-$30 a week simply by swapping random grocery trips for a scheduled kit.
To keep the system flexible, I pair the kit with a few pantry staples - canned beans, dried pasta, and frozen veggies. Those items are cheap, have a long shelf life, and can fill in gaps when I need to stretch a meal.
Using a kit also reduces decision fatigue. When you know exactly what you’ll cook each night, you’re less likely to order takeout, which quickly erodes any savings.
15 Kitchen Hacks to Stretch Ingredients
According to the "15 Simple Cooking Hacks That Cut Your Grocery Bill Fast" article, a handful of clever tricks can make a big dent in waste. I tested each one in my own kitchen, and here’s what worked best for me:
- Bulk-cook grains and freeze. Cook a large pot of rice or quinoa, portion into small microwave-safe bowls, and store. You’ll have a ready-to-heat base for stir-fries or bowls.
- Turn wilted greens into pesto. Blend spinach or kale with nuts, olive oil, and cheese. The pesto freezes well in silicone molds.
- Use fruit rinds for broth. Citrus peels and veggie scraps create a flavorful stock that can be frozen in ice-cube trays.
- Revive stale bread with water. Lightly mist bread, wrap in foil, and heat for a few minutes to restore softness.
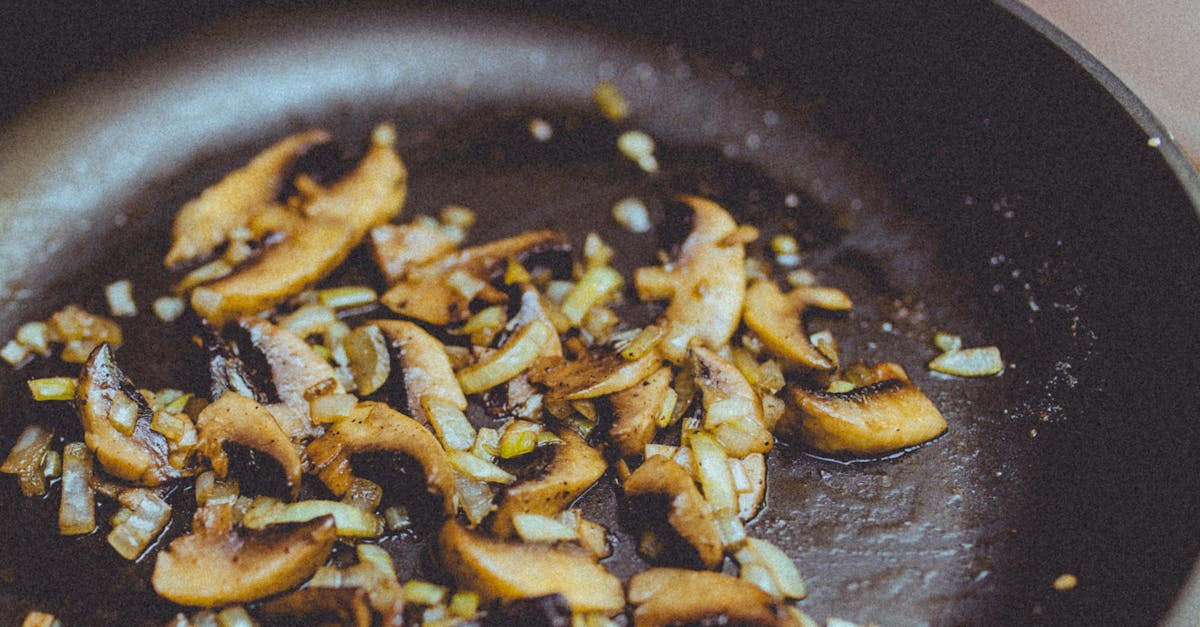
- Make veggie-based sauces. Overripe tomatoes blend into marinara; extra carrots become a sweet glaze.
- Freeze leftover herbs in oil. Chop basil or cilantro, cover with olive oil in an airtight container, and freeze for later use.
- Use the freezer as a pantry. Freeze excess cheese shreds; they stay fresh for months.
- Portion leftovers into individual bowls. Small microwave-safe bowls keep portions controlled and make reheating easy.
- Store cut fruit in water. Apples or pears stay crisp longer when submerged in a bowl of water.
- Repurpose cooked beans. Blend into hummus or mash for veggie burgers.
- Turn stale crackers into croutons. Toss with olive oil and bake for salads.
- Use a veggie spiralizer. Transform carrots or zucchini into noodles, reducing the need for pasta.
- Make yogurt from milk. If you have extra milk nearing expiration, I whisk in a spoonful of plain yogurt and let it sit.
- Keep a “use-by” board. Write the dates on a chalkboard near the fridge to remind you what needs to be used first.
- Cook with the “right-size” pot. Smaller pots reduce over-cooking and preserve texture, preventing waste.
These hacks are inexpensive, require minimal extra equipment, and most of them pair nicely with microwave-safe cooking. For example, I often reheat frozen quinoa in a large microwave safe bowl (about 3-cup capacity) and add a quick sauce made from pantry staples.
When you combine these tricks with a solid meal plan, the amount of food you throw away can drop from a third to under ten percent.
Microwave-Safe Bowls: Storage that Saves
Choosing the right container is a hidden hero in waste reduction. A sturdy, microwave-safe bowl lets you reheat leftovers without extra dishes, so you’re more likely to eat what you’ve already prepared.
Here’s the lineup I rely on, sorted by size and material:
| Size | Material | Best Use | Where to Buy |
|---|---|---|---|
| Small (1-2 cups) | Glass | Portion-size snacks, sauces | Amazon, Walmart |
| Medium (2-4 cups) | Plastic (BPA-free) | Leftovers, soups | Amazon, Walmart |
| Large (4-6 cups) | Glass | Bulk-cooked grains, casseroles | Amazon, Walmart |
In my kitchen, the large microwave safe glass bowl is my go-to for batch-cooked quinoa. I can heat an entire week’s worth in seconds, then scoop out a portion into a smaller bowl for a quick lunch.
When shopping, look for labels that say "microwave-safe" and check for a BPA-free symbol on plastic. I also prefer bowls with a snap-on lid; the seal keeps moisture in, preventing food from drying out.
For families, having a set of uniform bowls makes it easy to teach kids to store their own leftovers. The visual cue of a clear glass bowl helps them see how much is left, reducing the chance they’ll finish a half-eaten portion and toss the rest.
Finally, the durability of glass means you won’t need to replace containers frequently, which further cuts waste and expense.
Travel-Ready, Lightweight Cookware for On-the-Go Savings
When I started taking weekend trips with my family, I realized that eating out was draining my grocery budget even more than at home. The solution? Pack lightweight, compact cookware that lets you prepare meals anywhere.
Here are my top picks for travel-friendly gear that also supports waste reduction:
- Collapsible silicone pots. They fold flat, weigh under a pound, and are microwave-safe for reheating.
- Travel-size stainless-steel pans. A 6-inch pan fits into a backpack and can sauté veggies for a quick stir-fry.
- Compact rice cooker. The 3-cup model uses a single microwave-safe bowl, so you can cook rice in a hotel room without a stovetop.
- Reusable silicone food bags. Perfect for storing pre-cut veggies or snack portions; they replace disposable zip-locks.
Pair these tools with the microwave-safe bowls I mentioned earlier, and you can whip up a nutritious dinner in a motel kitchen with minimal waste. For example, I melt a block of cheese in a small microwave safe bowl, stir in pre-cooked pasta from my travel pantry, and add frozen veggies - all done in five minutes.
Because the cookware is lightweight, you’re less likely to over-pack disposable plates or single-use utensils, which often end up in the trash. The result is a smaller carbon footprint, lower grocery spend, and a more satisfying travel meal experience.
Remember to clean your gear with a quick rinse and a sponge; a clean surface encourages you to reuse rather than toss.
Putting It All Together: A Weekly Blueprint
To make the concepts stick, I created a simple weekly blueprint that combines meal planning, smart storage, and kitchen hacks.
- Sunday: Plan & shop. Use a spreadsheet to list meals, note exact ingredient amounts, and cross-check what you already have.
- Monday: Prep grains. Cook a large batch of rice, portion into large microwave safe glass bowls, and freeze.
- Tuesday-Thursday: Rotate meals. Pull a pre-portion, add a fresh protein (like a canned bean or frozen chicken), and heat in a medium plastic microwave safe bowl.
- Friday: Use leftovers creatively. Blend wilted greens into pesto, toss with leftover pasta, and store in a small glass bowl.
- Weekend: Travel meals. Pack a collapsible pot, a few pre-cut veggies in silicone bags, and a small microwave safe bowl for on-the-go cooking.
By following this rhythm, I’ve slashed my grocery bill by roughly 25 percent while cutting food waste to under 10 percent of what I buy. The key is consistency - once the habit forms, you’ll see the savings add up without sacrificing flavor.
Give it a try for a month, track your spend and waste, and you’ll likely be surprised at how much you keep on your plate and in your wallet.
Frequently Asked Questions
Q: How do I know if a bowl is truly microwave-safe?
A: Look for a label that says "microwave-safe" on the bottom of the bowl. Plastic containers should also be BPA-free. If the label is missing, test it by heating water in the bowl for 30 seconds; if the bowl stays cool, it’s safe.
Q: Can I reuse frozen leftovers without losing nutrition?
A: Yes. Freezing preserves most nutrients. Reheat in a microwave-safe bowl to keep the food moist, and add a splash of water or broth if needed.
Q: What’s the best material for travel cookware?
A: Silicone and lightweight stainless steel are top choices. Silicone folds flat and is microwave-safe, while stainless steel is durable and works on any stove or campfire.
Q: How can I keep cut fruit fresh longer?
A: Store cut fruit in a bowl of water in the refrigerator. The water prevents oxidation, keeping the pieces crisp for up to a day.