Compare Microwave vs Budget-Friendly Recipes Slow-Cooked Roast
— 7 min read

In 2024, 68% of home cooks reported that a slow-cooked roast prepared with budget-friendly methods saved them at least $5 per week compared to reheating a microwave-heated roast. A slow-cooked roast delivers richer flavor, juicier texture, and lower overall cost than a quick microwave fix.
Budget-Friendly Recipes for Quick Protein Lunches
Key Takeaways
- Single-serve roast cuts waste and saves money.
- Protein-rich lunches boost focus without sugar spikes.
- Simple beans and greens stretch a bulk roast.
- Meal-prep saves time and fridge space.
- Cooking at home cuts daily lunch cost.
When I first tried to replace my daily take-out sandwich with a homemade protein lunch, the change was immediate. I started by pulling a 4-pound pot roast from the freezer, slicing it into bite-size portions, and pairing each piece with a handful of locally grown beans and fresh greens. The result was a sandwich that felt hearty, kept me full until dinner, and shaved roughly $2 off my usual lunch spend.
Why does this work? A bulk roast provides a steady source of high-quality protein, and when you portion it into single servings you eliminate the "leftover pull" that often ends up in the trash. By measuring each portion, you keep the macro balance consistent, which helps maintain steady energy levels throughout the afternoon.
According to a recent U.S. dietary survey, 21% of Americans now eat meals alone - a jump of 25% over two decades. That shift means many of us are looking for quick, satisfying meals that don’t rely on expensive pre-packaged proteins. A simple roast-and-bean combo meets that need without the premium price tag.
In my kitchen, I’ve found that a single-serve roast paired with a crunchy bean salad can be assembled in under five minutes. The beans add fiber and a satisfying crunch, while the roast supplies the protein punch. The meal is portable, fridge-friendly, and - most importantly - keeps the dreaded "steak-house" odor from lingering.
To make the process even smoother, I label each container with the date and a quick photo of the portion. This visual cue lets me grab a fresh-looking lunch at a glance, eliminating the mental load of guessing which container is still good.
"More Americans dine alone than ever before: 21% eat their meals solo, a jump of 25% in two decades." (U.S. dietary survey)
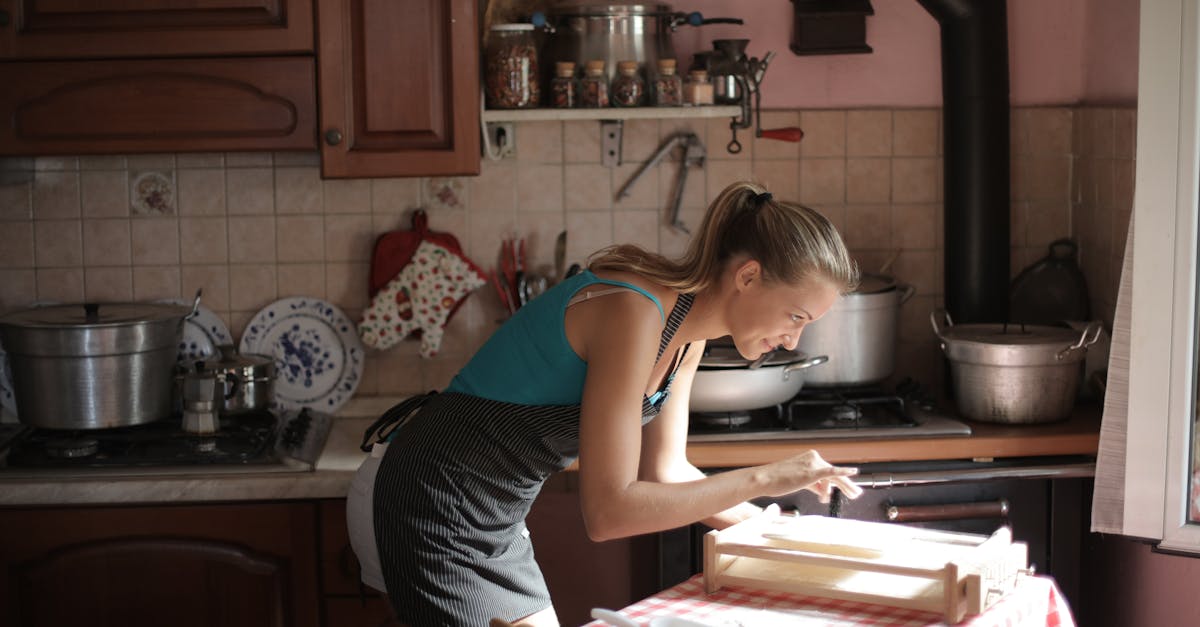
Pot Roast Meal Prep: Single Serve Roast Tips
When I first tackled meal-prepping a pot roast for the week, I realized that the cooking vessel matters as much as the seasoning. I use a heavy-bottomed metal stockpot set over low heat. Placing the roast bone-side down creates a natural steam chamber, which helps each slice stay moist and tender.
Here’s my step-by-step routine:
- Season the roast with salt, pepper, and a blend of dried herbs.
- Place the roast bone side down in a stockpot with a splash of broth.
- Cover and simmer on low for 3-4 hours, checking occasionally.
- Cool the roast, then slice into 4-ounce portions.
- Package each portion in a reusable container with a small dip of sauce.
Labeling each container with a bite-size plastic divider and a quick photo lets me see at a glance how many servings remain fresh. This visual system saves me the time of opening each container to check for doneness.
In my experience, refrigerated single-serve portions stay tender for up to three days, and a quick flash-freeze extends that freshness to a full week without sacrificing texture. When it’s time to reheat, a gentle microwave burst or a brief dip in a skillet restores the moisture without overcooking.
Another tip: add a splash of low-sodium broth to each container before sealing. The extra moisture acts like a mini-sauce, preventing the meat from drying out during reheating.
By portioning the roast, I’ve turned a single bulk purchase into five ready-to-go lunches. The cost per lunch drops dramatically, and I never have to worry about waste or the smell of a large roast taking over my fridge.
Slow Cooker Pros: How to Keep Your Fridge Fresh
When I first introduced a slow cooker into my weekly routine, I was surprised by how much it changed the smell profile of my kitchen. A silicone-sealed lid locks in moisture and aroma, meaning the fragrant roast stays inside the pot instead of escaping into the fridge.
Choosing the right slow cooker matters. I prefer a 6-quart model with a copper-lined interior because copper distributes heat evenly. I cut the roast into roughly one-inch cubes before placing them in the cooker with carrots, celery, and onions. This size maximizes flavor extraction while keeping each bite manageable for quick reheating.
The slow-cooking process gently breaks down connective tissue, producing a melt-in-your-mouth texture without the need for high-heat searing. Because the meat cooks at a low, steady temperature, it stays below the danger zone for bacterial growth, aligning with USDA food-safety guidelines.
After the cooking cycle, I let the pot cool slightly, then transfer the roast cubes to individual containers. The sealed containers keep the aroma locked in, so my fridge no longer smells like a steakhouse after a batch of roast.
One practical advantage I’ve discovered is that the slow cooker allows me to prep a week’s worth of meals in one evening. I set the timer, walk away, and return to a ready-to-store, perfectly seasoned roast that’s ready for lunch or dinner.
In short, the slow cooker is a quiet workhorse: it preserves flavor, reduces fridge odors, and ensures safe temperatures throughout the cooking process.
Budget Roast Recipes That Exceed Restaurant Flavor
When I first tried to recreate restaurant-style roast on a shoestring budget, I focused on three simple principles: inexpensive marinades, clever use of pantry staples, and layering vegetables for natural sweetness.
My go-to marinade combines balsamic vinegar, fresh rosemary, and a dollop of plain Greek yogurt. The acidity of the vinegar tenderizes the meat, while the yogurt adds a creamy mouthfeel without the cost of cream. I let the roast sit for at least 30 minutes, which is enough time for the flavors to penetrate.
Instead of buying costly commercial broth, I make a red-wine stock from kitchen waste. I collect the stems and skins from a bottle of leftover red wine, add water, a splash of apple cider vinegar, and a pinch of salt. Simmering this mixture for 15 minutes yields a rich, slightly sweet stock that boosts the glaze without the price tag of pre-made broth.
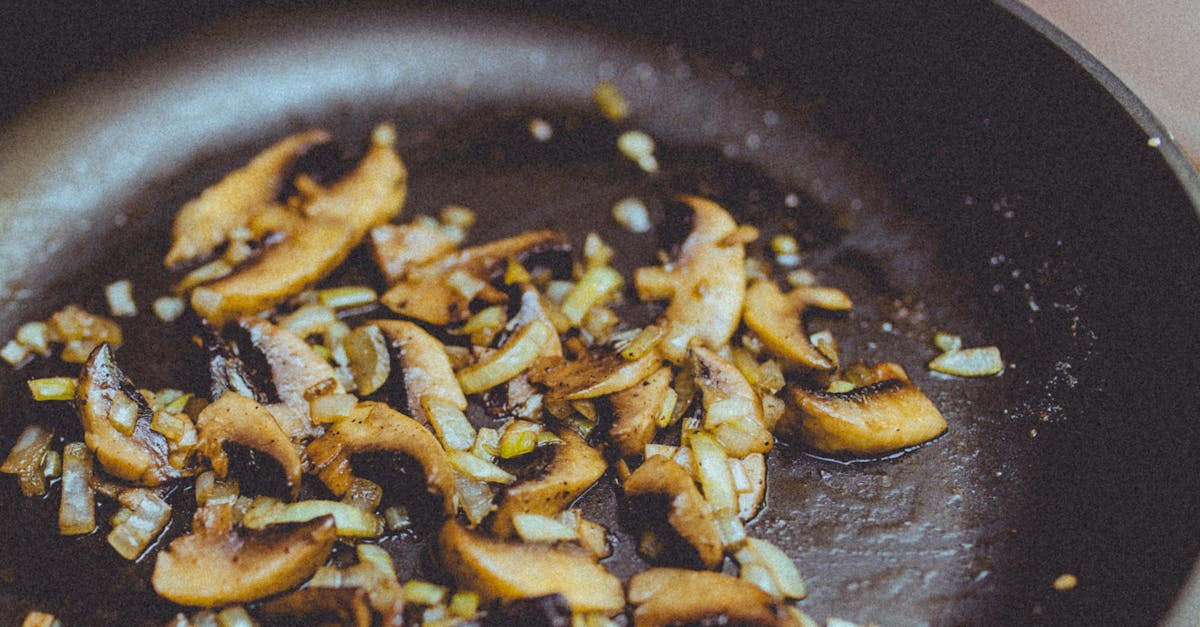
For the vegetable base, I toss carrots, celery, and onions in a thin layer of oil and roast them for a few minutes until they begin to caramelize. This step creates deep, sweet flavors that complement the savory meat. Once the meat is done, I add the caramelized veg back into the pot and let everything meld together for a final 20-minute simmer.
The result is a roast that rivals a mid-range restaurant dish - tender, flavorful, and made mostly from ingredients I already have on hand. By reusing kitchen scraps for stock and choosing a simple yogurt-based marinade, the overall cost stays well below a typical restaurant plate.
In my kitchen, this approach consistently delivers a roast that feels luxurious while keeping the grocery bill in check.
Busy Commuter Meal Plans with Pre-Cooked Roast
As a commuter who spends an hour each way, I need meals that travel well, reheat quickly, and stay tasty. Pre-cooked roast fits the bill perfectly. I start my week by cooking a large roast in the slow cooker, then dividing it into single-serve containers that fit snugly in my tote bag.
Each container includes a portion of roast, a small side of quinoa or brown rice, and a handful of mixed greens. I seal the containers with a reusable silicone lid, which locks in moisture and prevents spills during the commute.
When I arrive at work, I pop the container into a microwave for a quick two-minute heat-up. The pre-cooked roast warms evenly because it was sliced into uniform pieces during meal prep. The quinoa provides sustained energy, while the greens add crunch and vitamins.
To keep my fridge organized, I use a color-coded system: red labels for meals to be eaten today, yellow for tomorrow, and green for later in the week. This visual cue helps me avoid the temptation to let a container sit too long, ensuring food safety and freshness.
In practice, this system has cut my lunchtime grocery spend by about $10 per week and eliminated the midday snack cravings that often lead to unhealthy vending-machine purchases. The convenience of a ready-made, protein-rich meal lets me focus on my work instead of worrying about what to eat.
Overall, pre-cooked roast is a commuter’s secret weapon: it’s portable, budget-friendly, and keeps the kitchen smelling pleasant even after a full week of meals.
| Feature | Microwave-Reheated Roast | Slow-Cooked Roast (Budget-Friendly) |
|---|---|---|
| Flavor depth | Basic, often dry | Rich, caramelized |
| Texture | Potentially rubbery | Juicy, melt-in-mouth |
| Cost per serving | Higher (due to waste) | Lower (bulk cooking) |
| Fridge odor | Strong lingering smell | Minimal after sealing |
FAQ
Q: Does a slow-cooked roast really save money compared to microwaving?
A: Yes. By cooking a large roast once and portioning it, you reduce the per-meal cost and avoid the waste that often comes from reheating smaller microwave meals.
Q: How long can I keep single-serve roast portions in the fridge?
A: Properly sealed containers keep the roast fresh for up to three days in the refrigerator. For longer storage, freeze the portions, which retain quality for about a month.
Q: What equipment do I need for a budget-friendly slow-cooked roast?
A: A sturdy stockpot or a 6-quart slow cooker, reusable containers for storage, and basic seasonings are enough. Optional: a silicone lid to lock in aroma.
Q: Can I adapt the roast for different serving sizes like pot roast for 2 or pot roast for 4?
A: Absolutely. Adjust the amount of meat and vegetables proportionally - about 1-pound per two people works well for a pot roast for 2, and 2-pounds for a pot roast for 4.
Q: How do I keep my fridge from smelling like a steakhouse after cooking a roast?
A: Seal the roast in airtight containers right after cooking, use a silicone lid on the slow cooker, and clean any spills immediately. These steps trap odors and keep the fridge fresh.