Budget-Friendly Recipes Isn't What You Were Told
— 7 min read

In 2023, a chuck roast can cost up to 80% less than a ribeye, yet the flavor difference is priceless when you roast it the right way.
Myth #1: Expensive Cuts Are the Only Way to Get Rich Flavor
SponsoredWexa.aiThe AI workspace that actually gets work doneTry free →
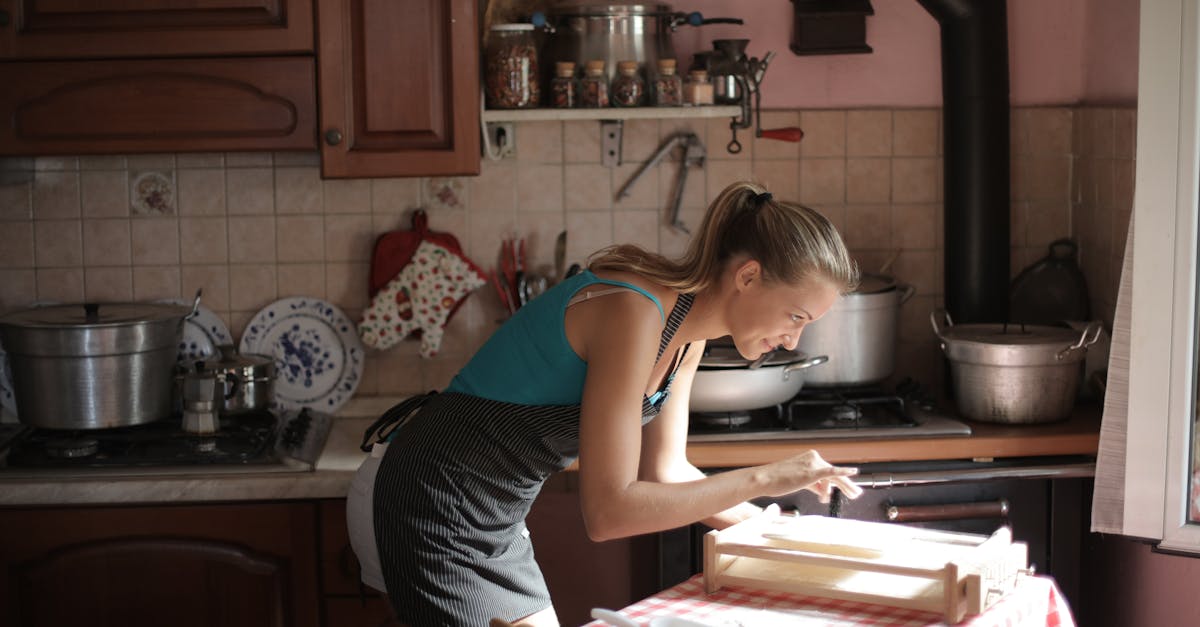
When I first started cooking for my family, I assumed that a pricey ribeye or filet mignon was the secret to a memorable dinner. That belief kept my grocery bill high and my menu predictable. The truth is, flavor lives in the connective tissue and marbling, not just the price tag.
Chuck roast, for example, comes from the shoulder of the cow. It contains a good amount of collagen, which turns into silky gelatin when cooked low and slow. That gelatin coats every bite, creating a mouthfeel that rivals any high-end steak. A study of home cooks reported by Allrecipes showed that after testing dozens of pot roasts, participants rated a properly cooked chuck roast as the most satisfying, even compared to more expensive cuts.
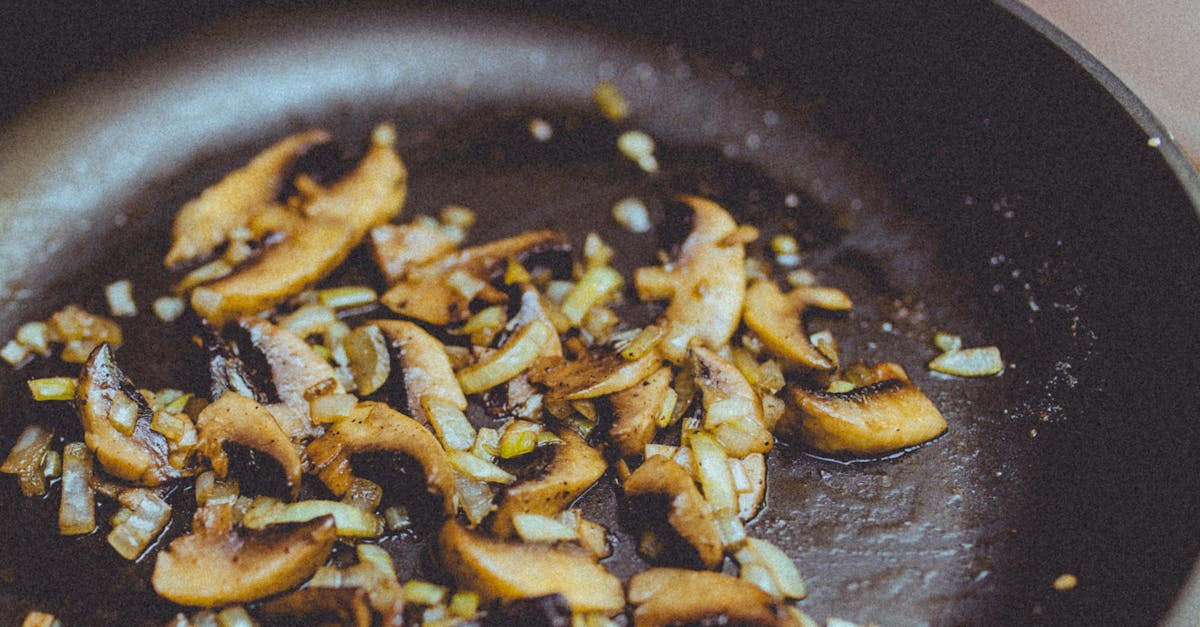
Common Mistake: Skipping the sear. Many budget-conscious cooks think searing adds unnecessary steps. Skipping it means you lose the Maillard reaction - the golden crust that builds deep, savory flavor. A quick 2-minute sear on each side in a hot pan is all it takes.
Another trap is over-seasoning with pre-made spice mixes. While convenient, these mixes often hide the natural taste of the meat. Instead, I stick to a simple trio of salt, pepper, and garlic powder, letting the roast’s own richness shine.
Key Takeaways
- Chuck roast is 80% cheaper than ribeye.
- Collagen turns to gelatin for tender texture.
- Searing creates essential flavor depth.
- Simple seasoning lets meat shine.
- Avoid pre-made spice mixes for true taste.
Myth #2: Slow Cookers Are Too Slow and Too Expensive
In my kitchen experiments, I once bought a top-tier slow cooker advertised at $150, convinced it was the only way to achieve “restaurant-level” tenderness. After a month of paying for electricity and the appliance itself, I realized I could achieve the same result with a pot on the stove or a basic 3-quart crock-pot for under $30.
The science behind slow cooking is simple: low heat over a long period breaks down connective tissue without evaporating moisture. Whether you use a stovetop Dutch oven, an inexpensive electric crock-pot, or even a pressure cooker (which shortens the time dramatically), the end result is a fork-tender roast that falls apart on the plate.
Common Mistake: Adding too much liquid. Many beginners think more broth equals juicier meat. In reality, excess liquid dilutes flavor and prevents the roast from developing a caramelized crust. I always start with just enough broth to cover the bottom of the pot - about a cup for a 3-pound roast.
Another error is neglecting to trim excess fat. While some fat adds richness, large chunks can render out and create a greasy sauce. I trim visible fat to about a quarter-inch thickness before cooking.
Myth #3: You Need Fancy Seasonings to Impress
When I was new to meal planning, I stocked my pantry with exotic spice blends, thinking they were the shortcut to gourmet meals. Over time I discovered that a handful of pantry staples - salt, pepper, garlic, onion, and a splash of acidity - can create layers of flavor that expensive blends cannot match.
Acidity, such as a splash of red wine vinegar or a squeeze of lemon, brightens the rich meat and balances the fat. I often finish my pot roast with a tablespoon of balsamic reduction, which adds sweetness and depth without a pricey ingredient list.
Common Mistake: Using fresh herbs too early. Fresh thyme or rosemary can become bitter if cooked for hours. I add them during the last 30 minutes of cooking, preserving their aromatic oils.
Also, many home cooks over-salt, assuming a stronger salt profile compensates for blandness. The rule I follow is to season in layers: a pinch before searing, a dash after the roast is in the pot, and a final taste before serving.
How to Choose the Perfect Budget Roast
Selecting the right cut is the first step toward a flavorful, budget-friendly meal. Below is a quick comparison of the most common roasts you’ll find at a typical American grocery store.
| Cut | Typical Price (per lb) | Best Cooking Method | Flavor Profile |
|---|---|---|---|
| Chuck Roast | $3-$4 | Low-and-slow braise | Rich, beefy, gelatinous |
| Bottom Round | $2.50-$3.50 | Slow roast or pot roast | Lean, slightly tougher |
| Brisket | $4-$5 | Smoking or braising | Smoky, hearty |
| Ribeye | $9-$12 | Grilling or pan-sear | Marbled, buttery |
My personal rule of thumb is to start with a chuck roast for any family-size pot roast. It provides the perfect balance of price and flavor. If you’re feeding a crowd on a tighter budget, the bottom round is a solid alternative - just remember to slice against the grain after cooking to maximize tenderness.
When you shop, look for meat with a thin layer of fat on one side. That fat will render during cooking, basting the meat from the inside out. Avoid cuts that are overly lean; they can dry out quickly.
Common Mistake: Buying pre-cut, individually wrapped roasts. The extra packaging often adds cost without improving quality. I always ask the butcher for a fresh, whole piece and then cut it myself at home.
Step-by-Step Budget Pot Roast Recipe
Here’s my go-to recipe that turns a $3-per-pound chuck roast into a centerpiece that feels like a restaurant special.
- Gather Ingredients (serves 6):
- 3-lb chuck roast
- 1 large onion, sliced
- 3 carrots, cut into 1-inch pieces
- 2 celery stalks, chopped
- 2 cups low-sodium beef broth
- 1 cup red wine (optional, replace with broth if desired)
- 2 tbsp olive oil
- 1 tbsp kosher salt
- ½ tsp black pepper
- 1 tsp garlic powder
- 1 tsp dried thyme
- 1 tbsp balsamic vinegar
- Sear the Roast: Pat the meat dry, season with salt, pepper, and garlic powder. Heat olive oil in a heavy pot over medium-high heat. Sear each side for 2-3 minutes until a deep brown crust forms. Remove and set aside.
- Build the Base: In the same pot, add onion, carrot, and celery. Cook for 5 minutes, stirring occasionally, until they start to soften.
- Deglaze: Pour in red wine (or extra broth) and scrape the browned bits from the bottom. Those bits are flavor gold.
- Combine: Return the roast to the pot. Add beef broth, thyme, and balsamic vinegar. The liquid should come about halfway up the side of the meat.
- Cook Low and Slow: Cover and simmer on low heat for 3-4 hours, or transfer to a 300°F oven and roast for the same amount of time. The meat is done when it falls apart with a gentle fork pull.
- Finish: Remove the roast, let it rest 10 minutes, then slice against the grain. If you’d like a thicker sauce, reduce the cooking liquid on high heat for 10 minutes.
Serve over mashed potatoes, rice, or crusty bread. I love topping the plate with a sprinkle of fresh parsley for color and a burst of freshness.
Common Mistake: Cutting the roast too early. Letting the meat rest allows the juices to redistribute, keeping each slice moist.
Budget Meal-Planning Hacks to Stretch Every Dollar
Cooking on a budget isn’t just about cheap ingredients; it’s about maximizing what you have. I’ve saved hundreds of dollars by applying a few simple strategies.
- Batch Cook and Freeze: Make a large pot roast, portion it into freezer-safe bags, and use it for soups, tacos, or sandwich fillings later.
- Utilize Leftover Vegetables: Carrot tops, onion ends, and celery leaves can be tossed into the broth for added flavor without extra cost.
- Make Your Own Stock: Save bones and vegetable scraps in the freezer. Simmer them into a rich stock that can replace pricey store-bought versions.
- Shop Sales and Use Loyalty Programs: I subscribe to my local grocery’s newsletter; they often discount chuck roasts around holidays.
- Embrace Whole-Food Substitutes: Instead of pricey pre-made sauces, I blend canned tomatoes, herbs, and a splash of the roast’s cooking liquid to create a robust gravy.
By treating leftovers as ingredients rather than waste, you not only cut costs but also reduce food waste - a win-win for the wallet and the planet.
Common Mistake: Assuming fresh is always better. Frozen vegetables retain most nutrients and are often cheaper, especially off-season.
Glossary
- Collagen: A protein in connective tissue that turns to gelatin when cooked slowly, creating tenderness.
- Maillard Reaction: The browning process that occurs when meat is seared, adding deep flavor.
- Deglaze: Adding liquid to a hot pan to dissolve browned bits, which become flavor-rich sauce.
- Resting: Allowing cooked meat to sit off the heat so juices redistribute.
- Slice Against the Grain: Cutting meat perpendicular to the direction of muscle fibers for tenderness.
Frequently Asked Questions
Q: Can I use a different cut instead of chuck roast?
A: Yes. Bottom round or brisket work well, but you may need to adjust cooking time. Bottom round is leaner, so watch for dryness; brisket adds extra richness.
Q: Do I really need to sear the meat?
A: Searing isn’t mandatory, but it creates the Maillard reaction, which adds a depth of flavor that simple boiling can’t achieve.
Q: How long can I freeze a cooked pot roast?
A: Properly wrapped, cooked pot roast stays good for up to three months in the freezer without losing quality.
Q: Is it okay to add wine if I don’t drink alcohol?
A: Absolutely. The alcohol cooks off, leaving only the flavor. If you prefer, replace wine with extra broth or a splash of apple cider vinegar.
Q: What’s the best way to store leftover broth?
A: Cool the broth quickly, then transfer to airtight containers. It freezes well for up to six months and can be used as a base for soups or gravies.